CPU is mounted inside the motherboard with help of the CPU socket. One needs to update or replace the processor in case of CPU overheating, underperformance, or complete failure. Although, if you want to update a processor, you will need to update the motherboard too, and updating your processor involves a huge cost but it can prove to be one of the best decisions that you will ever make as it helps to boost the performance of your PC.
CPU has been significantly replaced by fleet graphic cards and SSDs but with the recent innovations of giants like AMD and Intel, they are making haste back into the game.
Things to Keep In Mind Before Installing a New CPU On Your PC
- Be fully aware of the motherboard that your computer has as it plays a major role when it comes to installing a new processor to your motherboard or updating the old processor with the new one. If the motherboard doesn’t align with the processor ( new or old ), you are in trouble! So make sure to research properly. Don’t consider smaller motherboards if your case can fit the larger one as the smaller motherboards are expensive with the same features.
- With the motherboard, you will need to keep a check on the socket too. A socket is a part of the motherboard that helps to keep the CPU in its place. If you are using not a very old version of your computer, you might be able to update to a stronger CPU with an existing socket.
- For choosing the precise RAM, you need to check your motherboard’s manufacturer’s manual. If you are planning to upgrade your motherboard with your CPU, you can dive deep into the user’s manual and get all the details about the specifications of the memory it uses or you could always go to the motherboard manufacturer’s website. DDR3 and DDR4 are comparatively cheaper than DDR2 RAM. You need to check whether or not the current type and amount of RAM will be supported by the motherboard and the CPU’s upgraded version.
- Read about ESD beforehand and then carry on a task as an ESD can hinder the working of a computer and in some cases, the computer might not work at all.
- Keep a screwdriver, a tube of thermal paste, isopropyl alcohol, an anti-static cloth, and a flat surface ready with you.
- Make sure to shut down your PC and unplug the power supply while performing this. Also, if you are upgrading to a processor that needs more power than your current processor does, sadly you would have to upgrade this as well alongside the motherboard, socket, and the ram.
- Place your desktop on a flat surface and do not place it on blankets or sheets to avoid static discharge.
Removing The Old Processor From Your PC
The old processor needs to be removed in order to upgrade to the new processor.
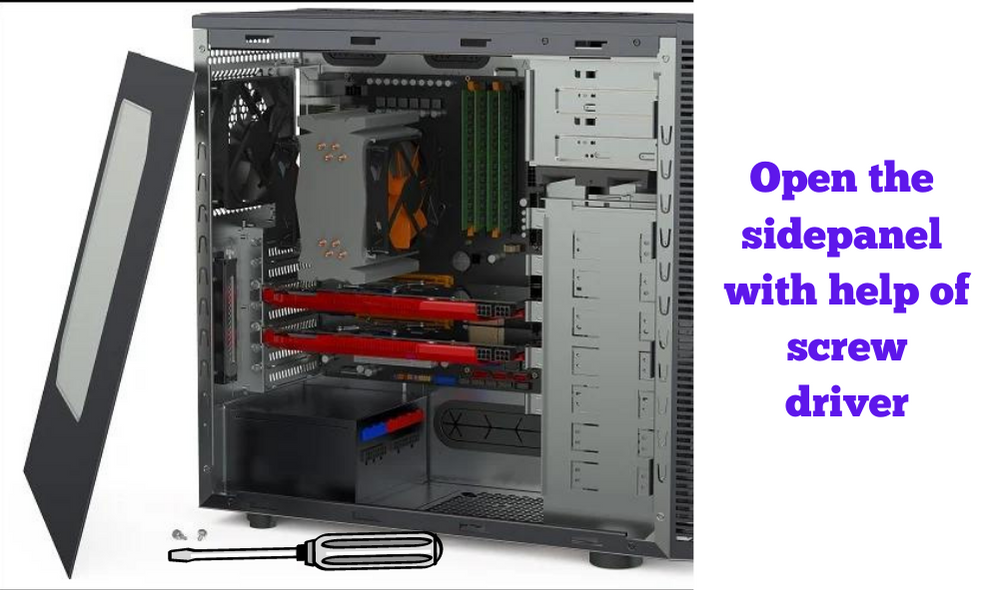
- Set the computer on its side with your motherboard facing up in a way that you can look at various parts of the motherboard and remove the side panel with the help of screwdrivers.
- It is important that you are properly grounded while performing this or you could always wear an anti-static wrist band and attach it to the metal part of the case.
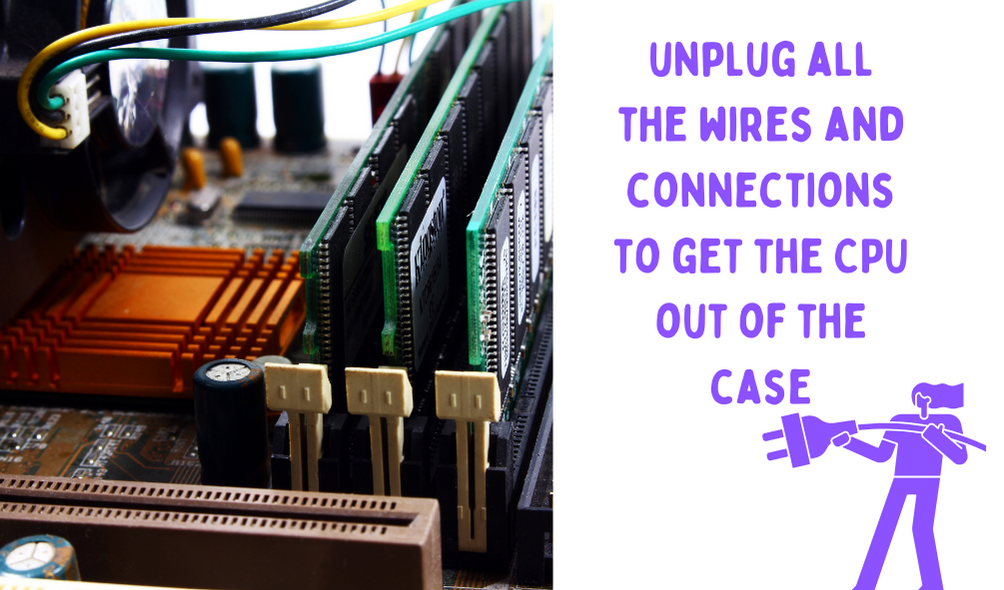
- You will need to unplug all the wires and connections, basically everything to get the CPU out of the case.
- There must be a tab on the PCI Express slot. You have to pull the graphics card away in order to remove it. You will need to repeat this same step if you have any other PCI-E expansion card that you have. Now that you are done with the graphic card, the next step is removing the cooler.
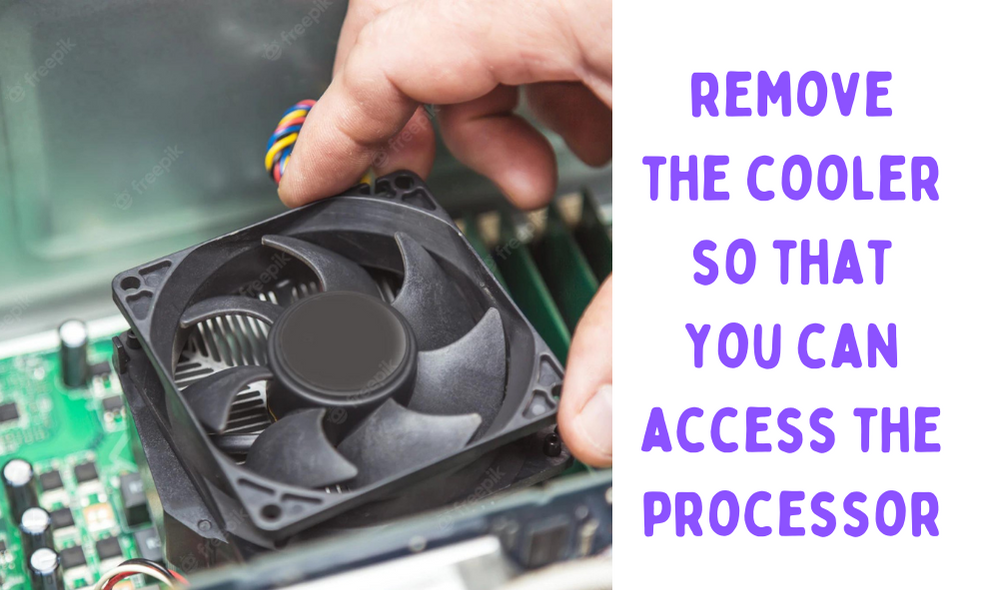
- All the processors have a cooler installed on the top of them. You will first need to remove the cooler so that you can access the processor. While detaching everything, make sure you remember where it was attached or plugged in because you will need to attach or plug them back.
- Next, place the four screws in each corner to detach it.
- As you detach the cooler from the motherboard, there is a slight chance that it would be still attached to the computer due to thermal paste. Take it easy and wipe it with isopropyl alcohol and an anti-static cloth. Look out for the 4-pin adapter power cable attached to the fan somewhere around the CPU socket. You can unplug that and then move ahead with detaching the cooler.
- Lift the lever to loosen it up and the socket cover will pop out allowing you to detach it. Be sure to not destroy any of the pins while doing this process as they are very delicate.
- If you want to reuse your old processor, store it in an anti-static bag.
Installing New Processor
Installing the new CPU would be easier now that we have already removed the old one. Now, those of you who were looking to install a CPU can follow the steps from here.
If you are planning to change your motherboard along with your CPU, you will have to prioritize changing your motherboard in order to change your CPU. Changing your motherboard is going to take a little bit longer than you expect as you will have to dismantle your PC in order to install a new one. If you are replacing your motherboard, you need to reinstall your operating system and restore the data.
Changing the motherboard is pretty much covered in the ‘removing the old processor’ process we just discussed above. Look out for your motherboard’s manual as it will have almost everything you need to know from changing the motherboard, installing a new one and what processor will suit your motherboard, etc.
Simply look out for screws around your motherboard. You can remove the screws and try lifting your motherboard gently and carefully by pulling out the I/O plate. Pulling the I/O plate is a necessary step to perform if you are changing your motherboard with a new model. You can skip this part in case you are replacing it with a similar model.
Next is changing your CPU. Follow the steps below –
- Make sure you are grounded while performing this whole process As we have already unplugged all the wires and connections while removing our old CPU, we can simply move ahead with placing a new CPU.
- Before placing the new CPU, you have to make sure that there is no thermal paste near the socket. If you still find any of it, clean it with isopropyl alcohol and an anti-static cloth. As the lever is already lifted ( we lifted the lever while removing the old CPU ), move ahead with unpacking your new CPU.
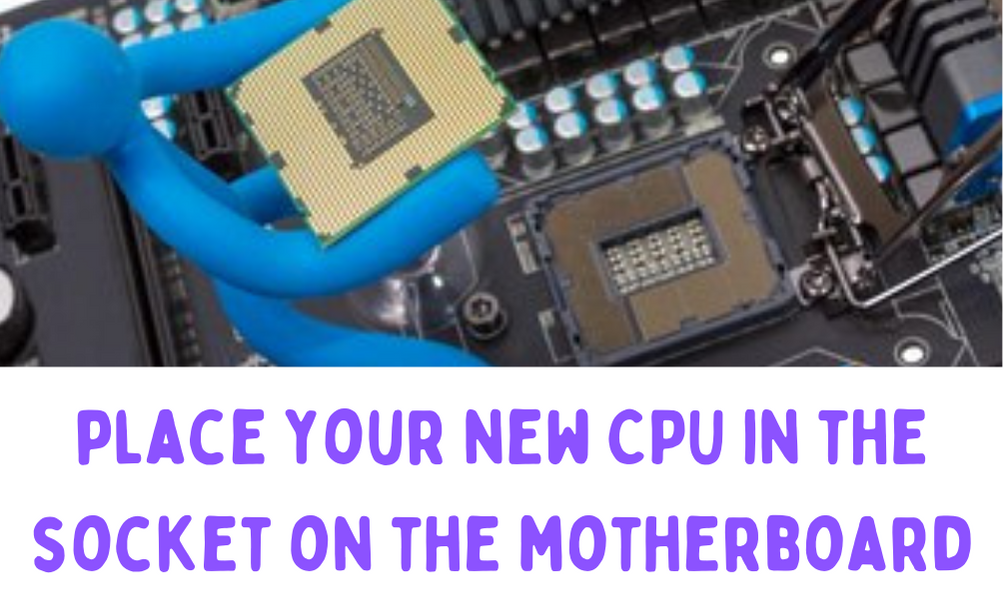
- Avoid any contact with the pins attached to it and try holding it from the edges. Gently place your new CPU in the socket on the motherboard. After placing the processor in the socket, close the socket/ lower the plate above the processor and lock it properly.
- Now you have to install the cooler on the top of it by applying the pea-sized thermal paste on the bottom of it. You might want to check before directly applying the paste as some of the coolers already have thermal paste applied to them. If not, apply the paste and install the cooler on the top of your new processor just like you detached it before.
- After placing the cooler on the top, make sure to plug it back into the 4-pin adapter power cable. The last step is putting all your connections and wires back in place for the smooth working of your newly installed CPU.
With this, we come to the end of the process of replacing older CPU and installing new CPU on your PC.
Best Processor To Choose
Usually, a faster processor comes with a great package that includes top-notch performance and higher prices too! So, if you were looking to cut back on dish and get an “above average” performance, you will be highly disappointed. But if you invest in the latest-generation CPUs, you can expect them to stay a little longer as their shell life is comparatively more than that of older generation CPUs. Intel and AMD Ryzen are one of the best buys to go ahead with. Intel on one side is a fat cat and AMD on the other side offers the same products that are cost-effective.